Initial setup with the Android APP
First-time setup of a MissingBolt charger from the mobile app. Takes about 5 minutes. The charger must already be installed and powered on — see the Requirements & Installation first.
Before you start#
-
The charger is powered and its status ring is green.
-
You know your home Wi-Fi name and password (2.4 GHz network).
-
Get the app from Google Play.
First sign-in#
-
Open the APP and tap the Profile icon
-
Enter your email and tap Send Code. Enter the 6-digit code from your inbox and tap Verify.
-
Tap the Profile icon again and click Edit Profile
-
Add a photo and set a name for the account
Add a new device#
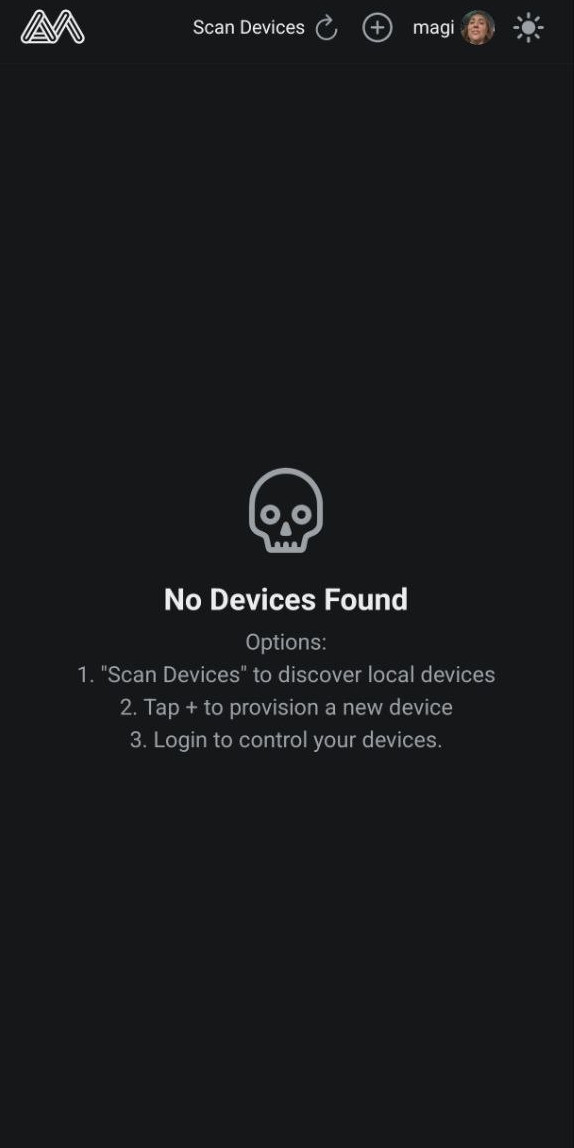
From the device list, tap Add New Device. The wizard has six steps.
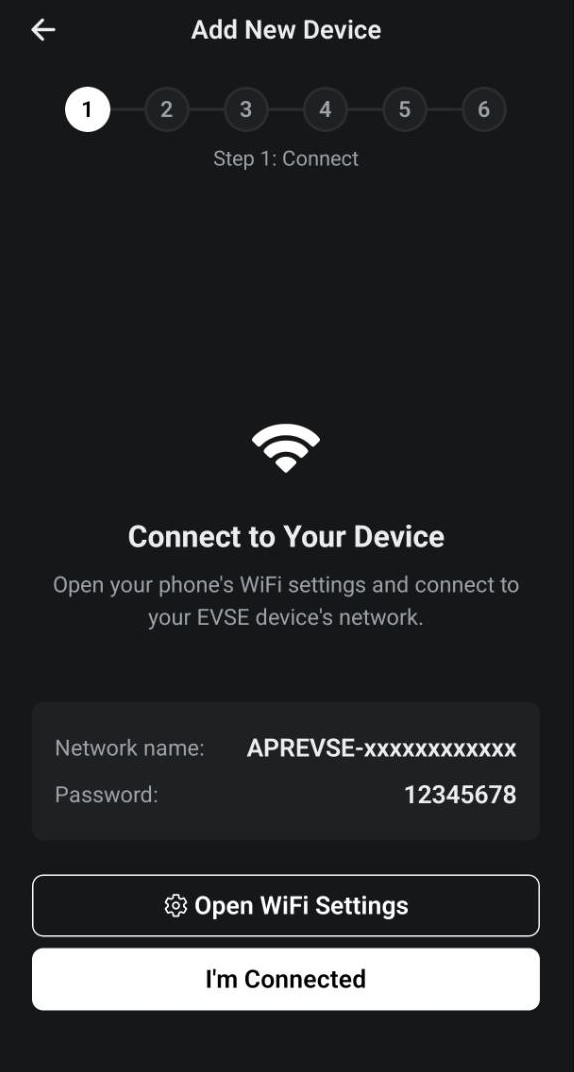
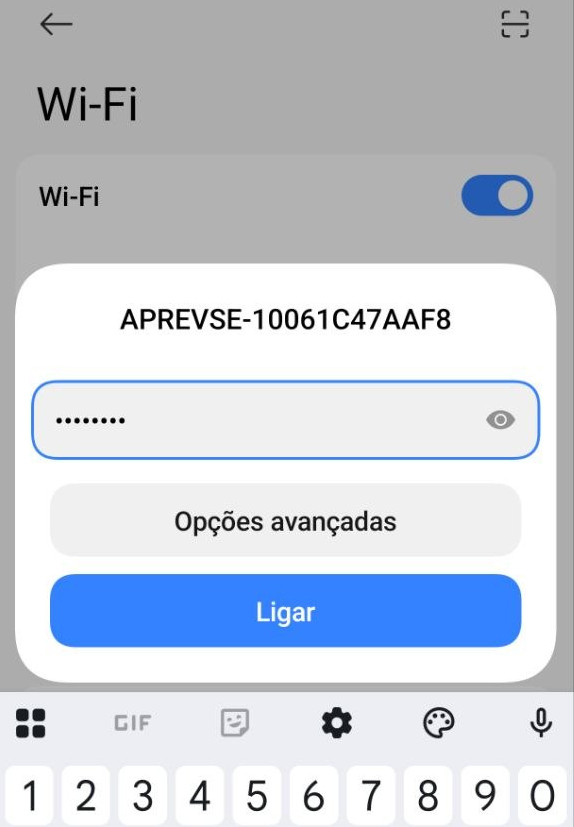
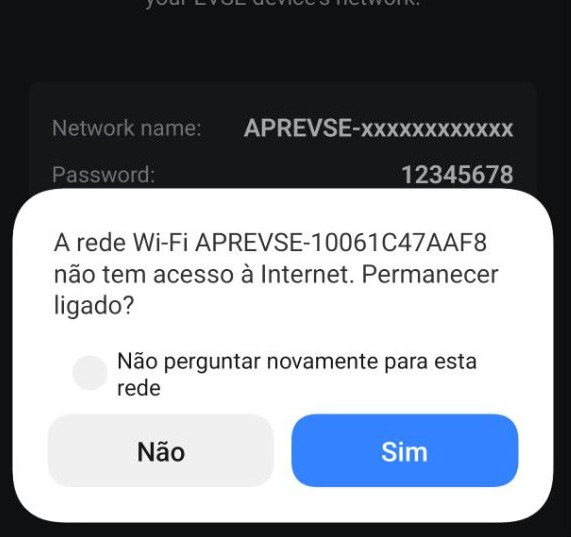
1 · Connect — Open your phone’s Wi-Fi settings and join the charger’s own network:
| Network | APREVSE-xxXXxxXXxxXX |
| Password | 12345678 |
If your phone warns the network has no internet, choose to stay connected. Return to the app and tap I’m Connected.
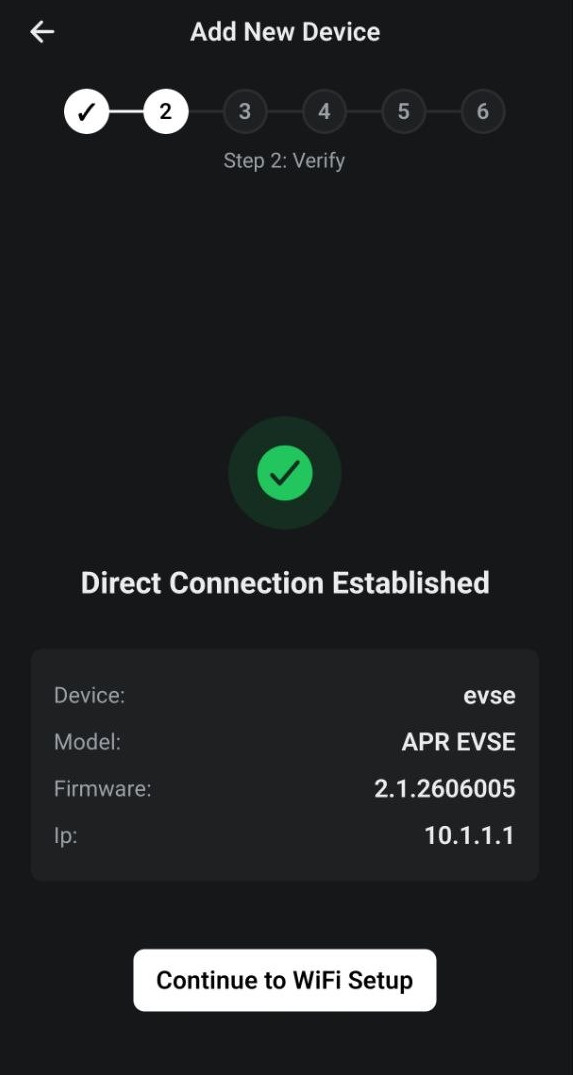
2 · Verify — The app confirms a direct connection and shows the device
model, firmware, and its setup address (10.1.1.1). Tap Continue to Wi-Fi
Setup.
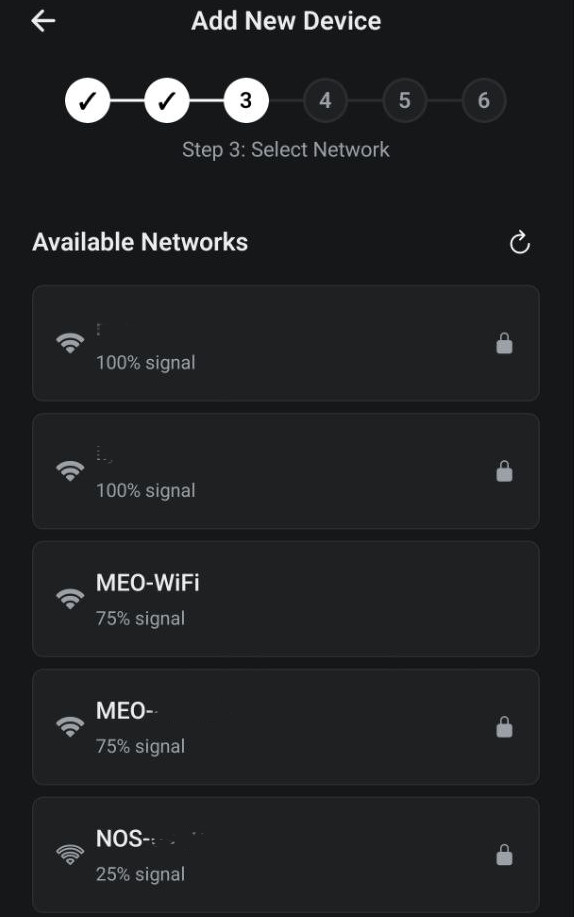
3 · Select network — The charger scans for nearby Wi-Fi. Pick your home network, or enter the name manually if it’s hidden. Tap Continue.
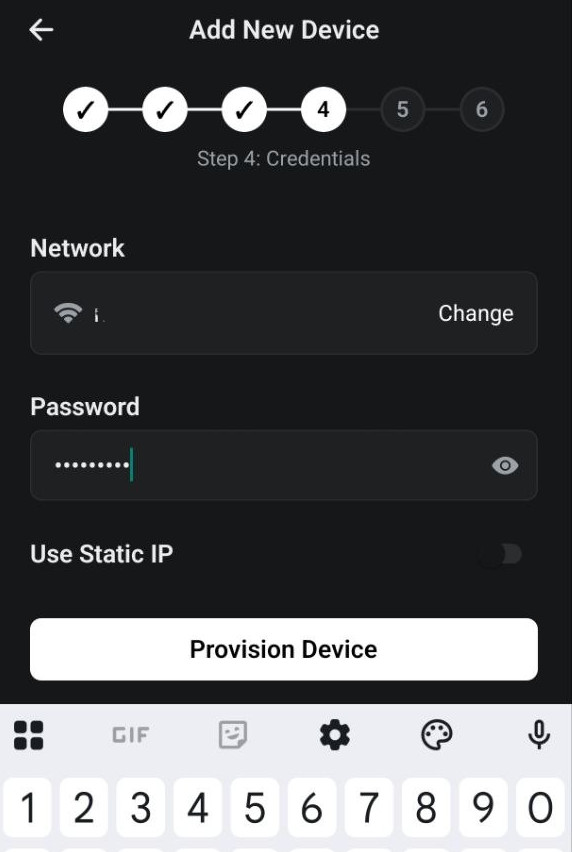
4 · Credentials — Enter your Wi-Fi password and tap to provision. To assign a fixed address now, set a static IP (optional — you can also do it in step 6).
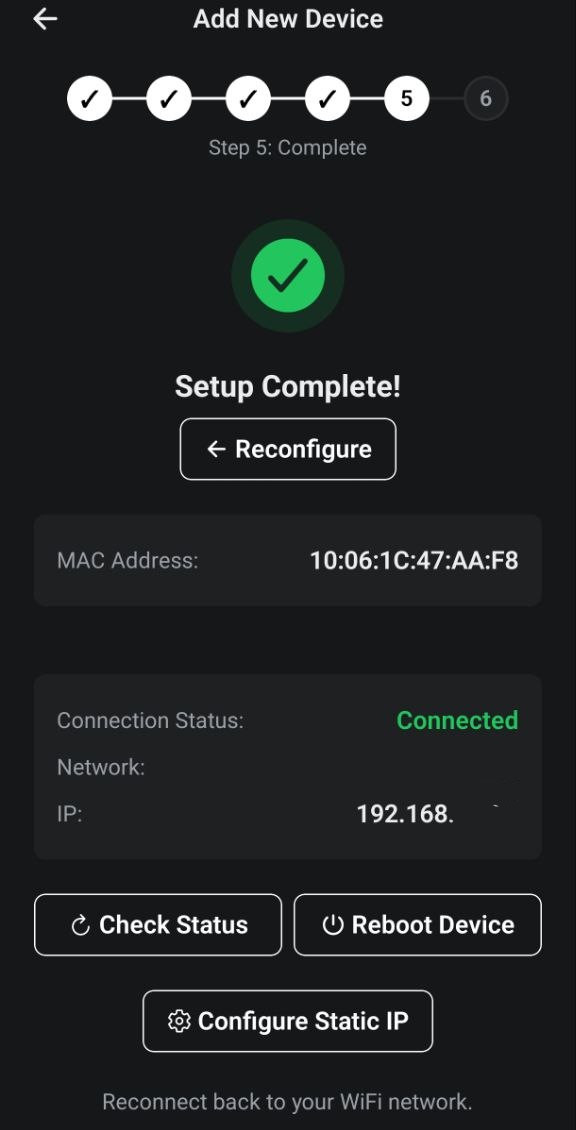
5 · Complete — The charger reboots and joins your Wi-Fi. The screen shows its MAC address and a live connection status:
- Connected — success; the network name and IP are shown.
- Not connected yet — wait a few seconds and tap Check Status, or Reboot Device and retry. Double-check the Wi-Fi password (step 4 → Reconfigure).
Now reconnect your phone back to your home Wi-Fi.
6 · Static IP (optional) — Set a fixed IP, subnet mask, gateway, and DNS. Leave DNS empty to use the gateway. Recommended if you want a stable local address.
Claim ownership#
To control the charger remotely and manage who has access, claim it:
- Make sure your phone is back on your home Wi-Fi.
- Tap Claim Ownership (or open the device and claim it later).
Outcomes: You are now the owner (success), or Device already has an owner — ask the current owner to share access.
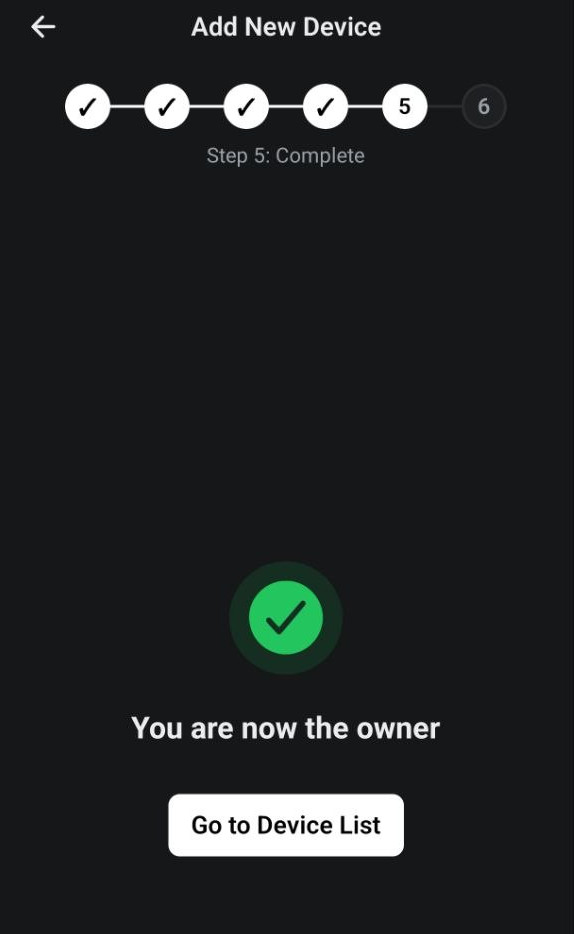
Claiming needs the charger to have reached the cloud. If claim fails, confirm the charger shows Connected on your home network and try again.
Personalize your charger#
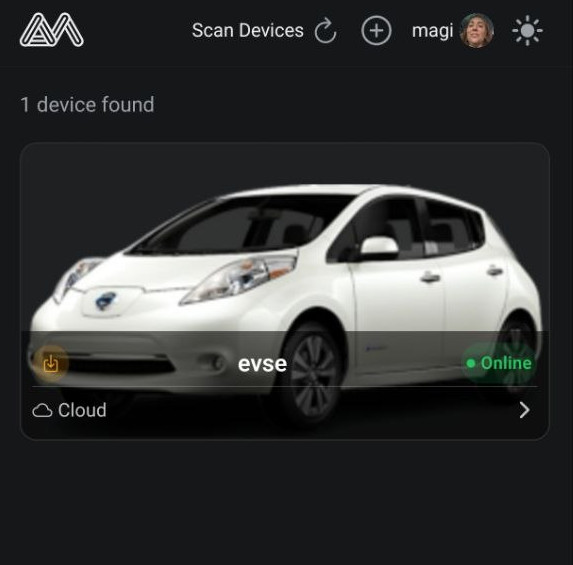
Back on the device list, your charger appears as Online. Give it a photo so it’s easy to recognise:
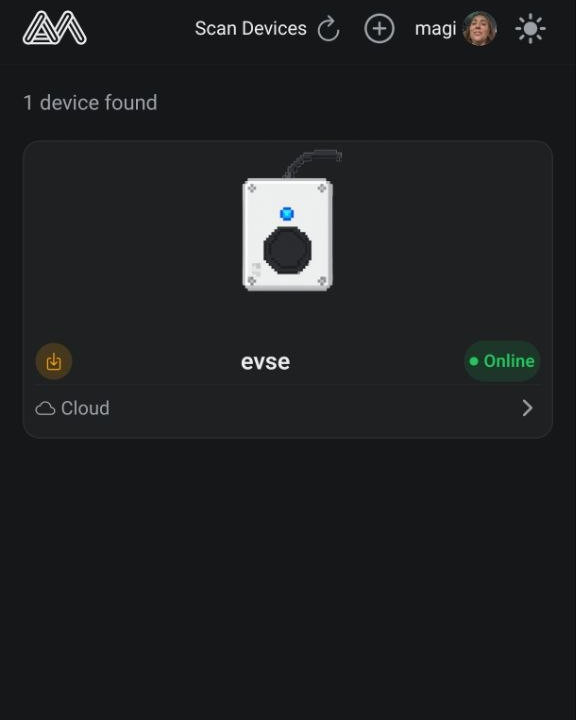
- Open the User Profile, tap your device under My Devices, then the camera icon.
- Take Photo, Choose Photo, or pick a model from the Gallery, then tap Save.
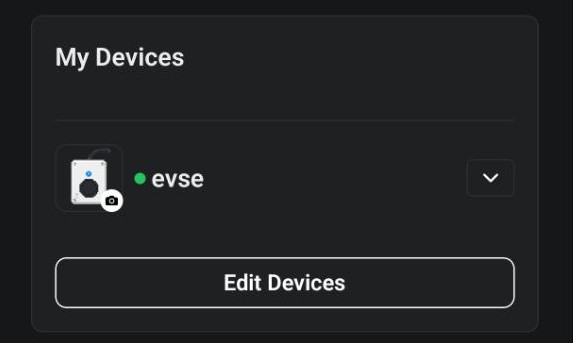
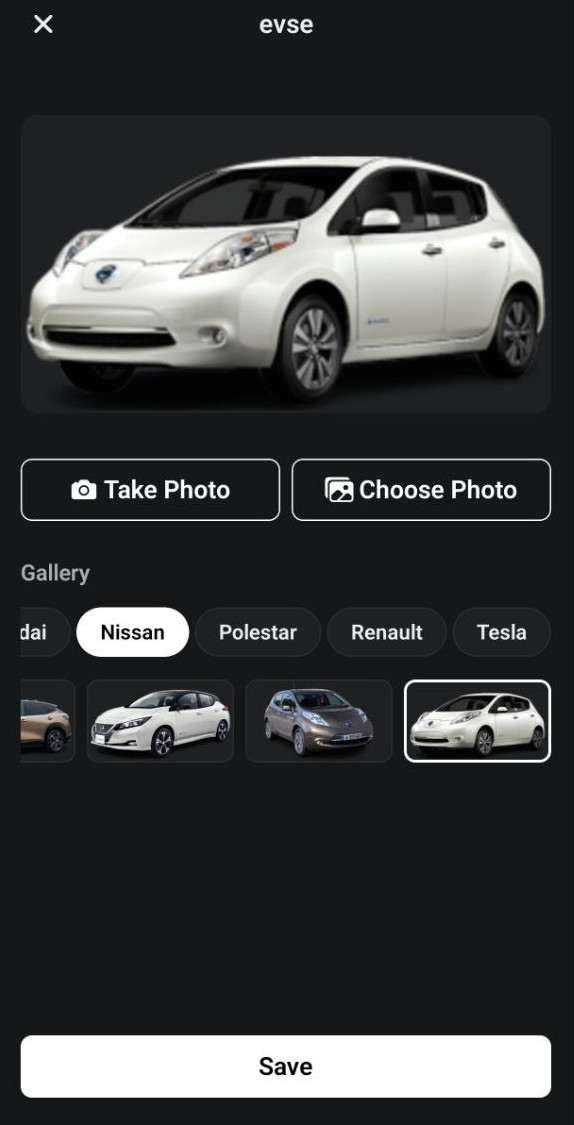
The photo now shows on the device card.
Not all photos integrate well with the control panel, the best candidates have 16:9 format and no background