Initial setup via Web
First-time setup of a MissingBolt charger through Web access. Takes about 10 minutes. The charger must already be installed and powered on — see the Quick start guide first.
Before you start#
-
The charger is powered and its status ring is green.
-
You know your home Wi-Fi name and password (2.4 GHz network).
Install the Web APP#
- On the target phone open the app in Safari
For IOS please do not use chrome to install the progressive web app. Safari only
- Tap the Share button (the square with an arrow pointing up) at the bottom or top of the screen and select “Add to Home Screen”
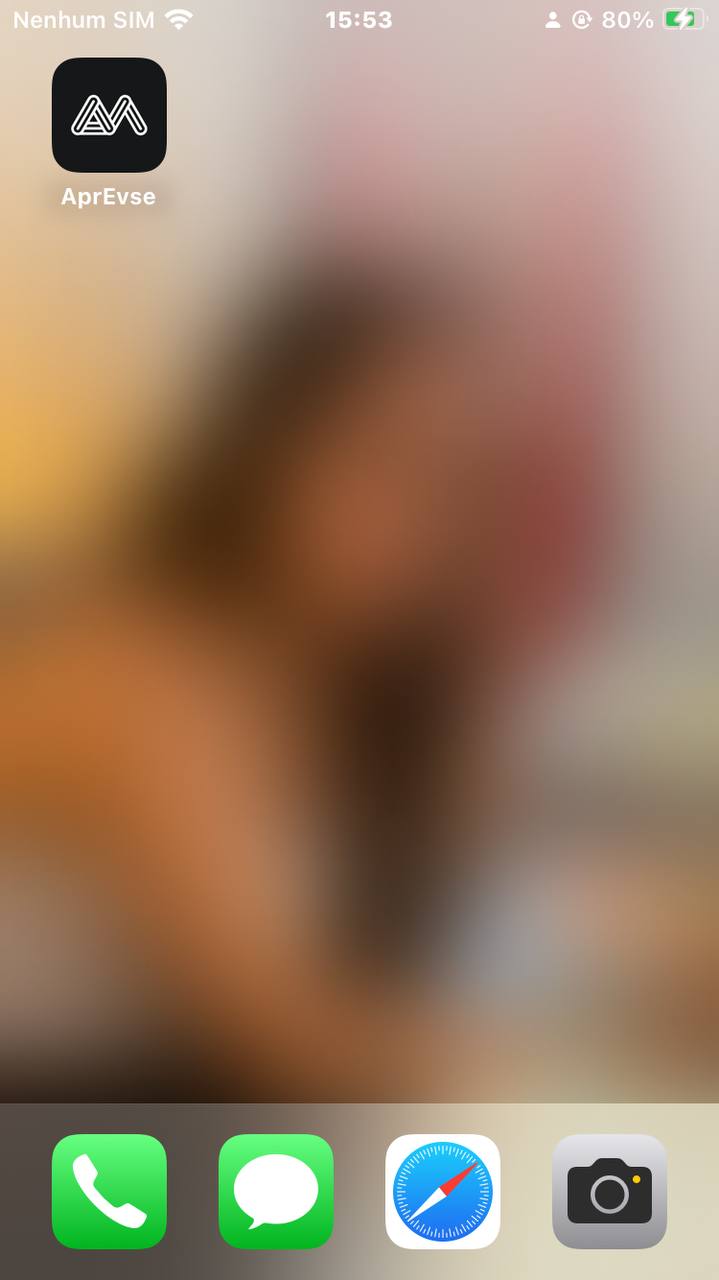
- Open the app and enter an email to register an account and tap Send Code. Enter the 6-digit code from your inbox and tap Verify.
Direct access to the EVSE#
The EVSE broadcasts its own SSID when plugged in or restarted. This SSID turns off automatically after 5 minutes once it successfully connects to a Wi-Fi network. The SSID comes back on whenever the Wi-Fi connection is interrupted.
- Connect to the Wi-Fi network
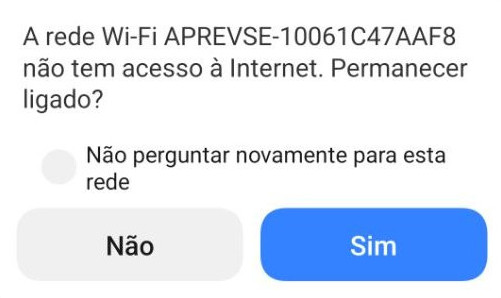
APREVSE-XXXXwith the password12345678
Important: choose to stay connected to the charging unit’s network
- From a browser, go to http://10.1.1.1 to reach the charging unit’s internal page. Navigate to the WiFi section and set the WiFi credentials with the help of the SCAN button
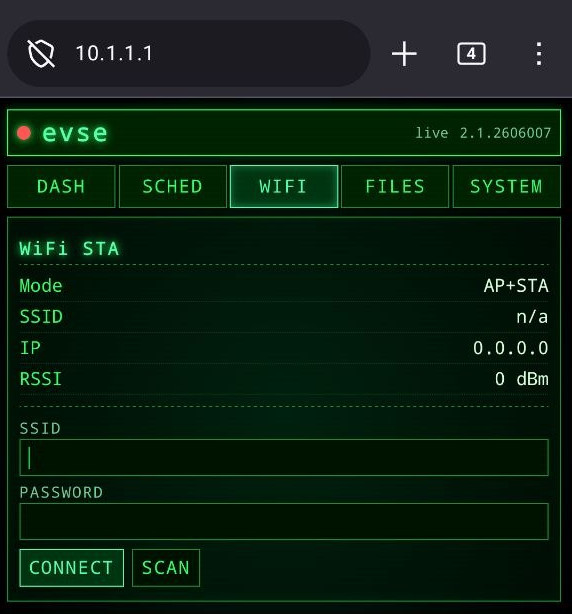
Confirm that the EVSE connected to the network and note the assigned IP. You can stay on the page to click the link it provides:
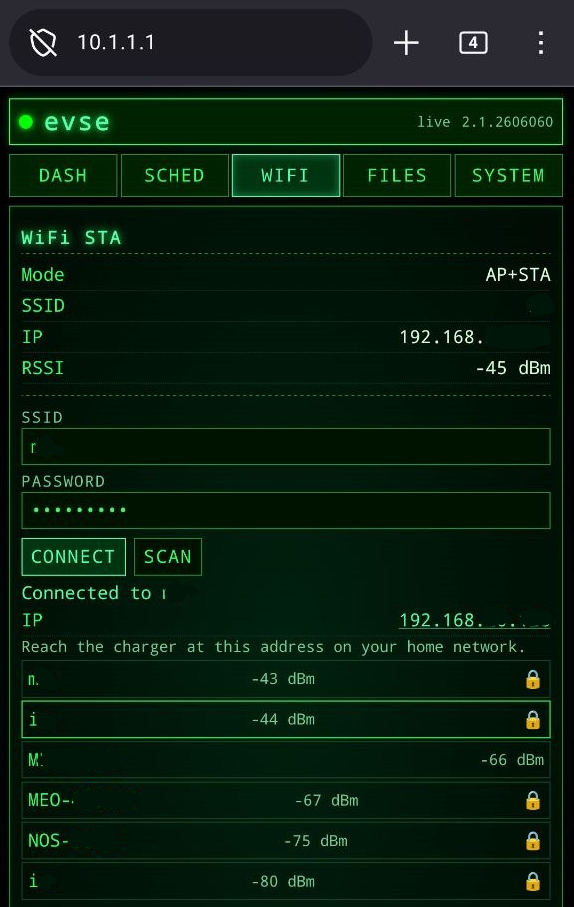
- On the PC or phone, switch back to your home WiFi network and click the IP to reopen the page, this time with the EVSE already connected to the internet. Navigate again to the WiFi section and now a QR code appears to link the device to your account.
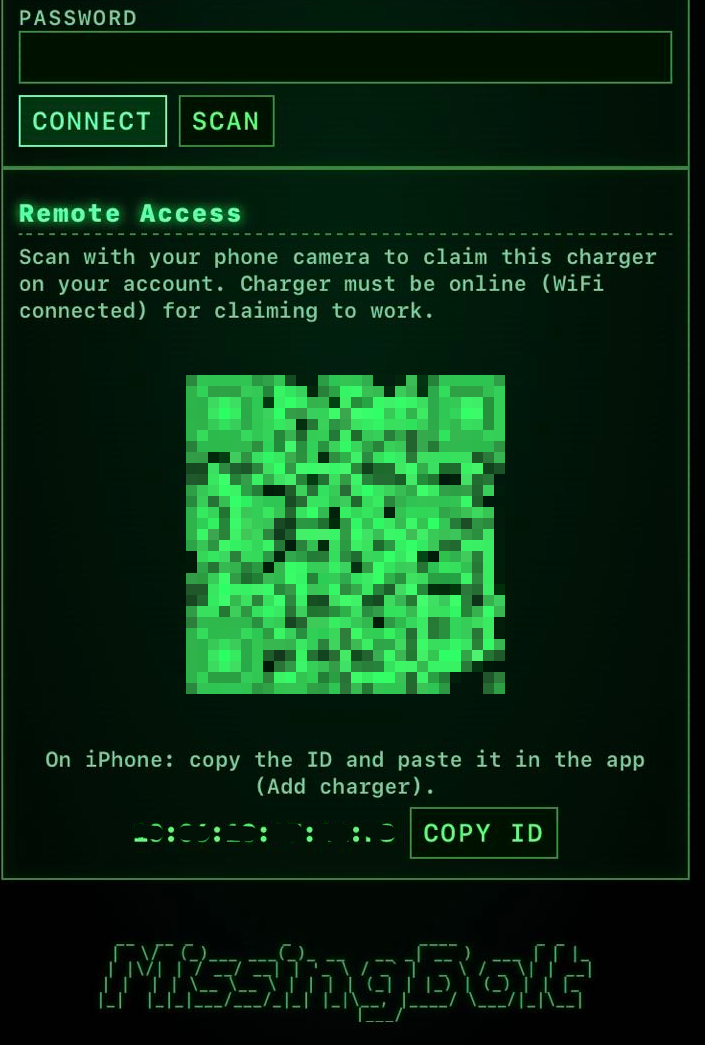
If you are on the phone you can tap the COPY ID to copy the device id and paste into the app at Profile -> Edit Devices -> Add Charger -> Paste
If you are on a PC/Laptop you can scan the QR code with the phone that has the App installed
Personalize your charger#
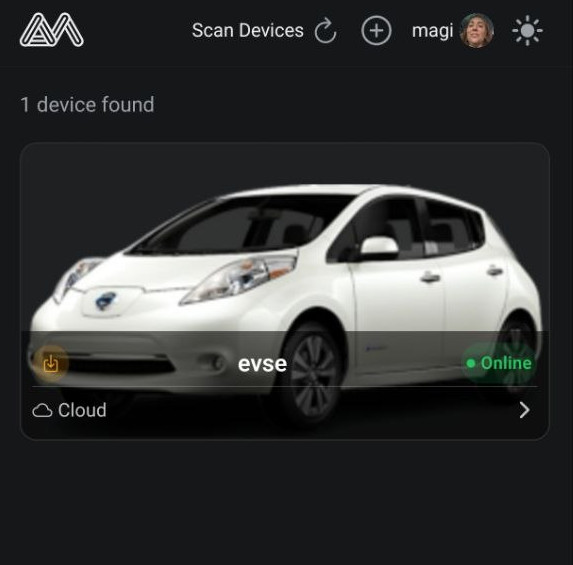
Back on the device list, your charger appears as Online. Give it a photo so it’s easy to recognise:
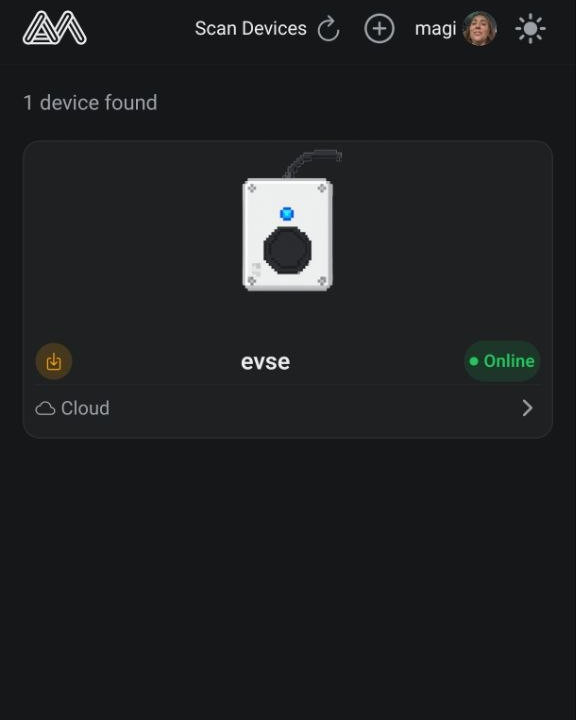
- Open the User Profile, tap your device under My Devices, then the camera icon.
- Take Photo, Choose Photo, or pick a model from the Gallery, then tap Save.
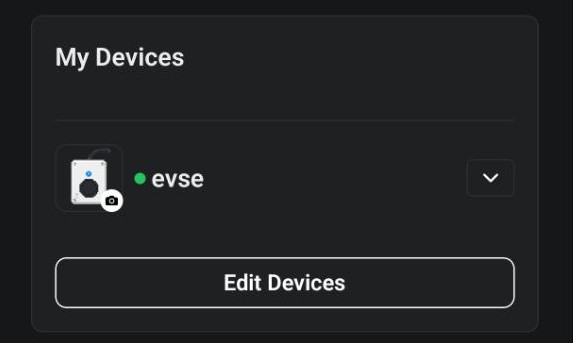
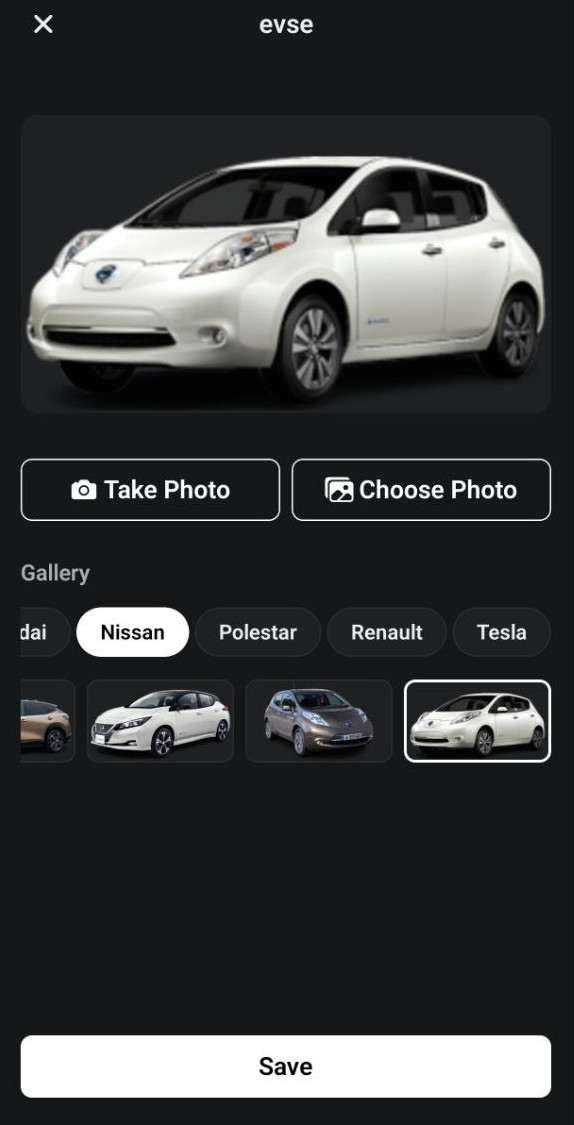
The photo now shows on the device card.
Not all photos integrate well with the control panel, the best candidates have 16:9 format and no background